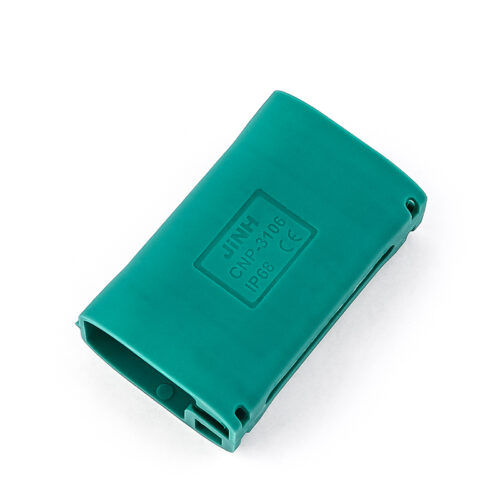
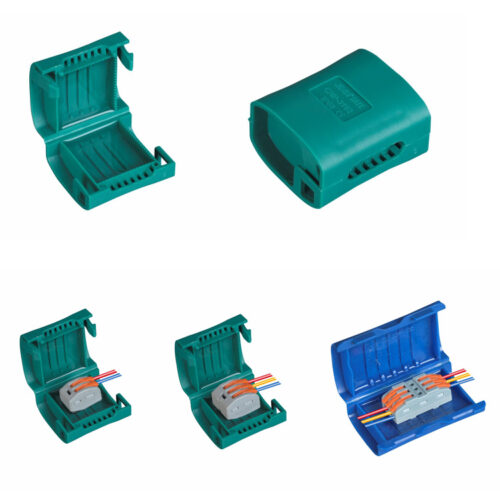
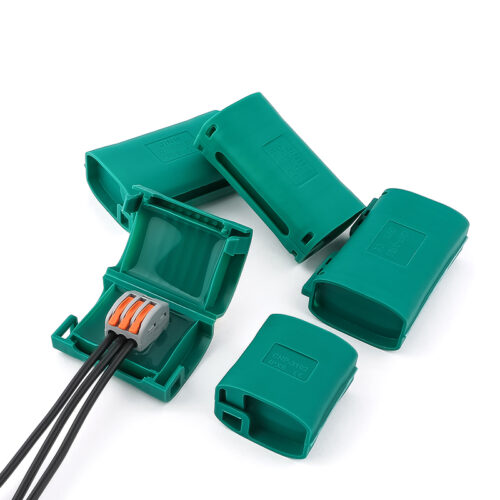
The core function of the mini waterproof connector is quite simple: it provides a safer and more convenient cable connection method where complete immersion in water is required. The “how to achieve it” lies in its ingenious design, which enables this simple goal to be accomplished under extreme conditions.
Here is a detailed introduction to its operation mode, highlighting its key components and the process of establishing connection.
Where is the Mini Waterproof Gel-box used?
- Outdoor Lighting: It is widely used in permanent, submersible wire connections in landscape, architectural, and underwater lighting.
-
Infrastructure and Security: It is helpful in ensuring reliable operation for underground cabling, traffic signals, and outdoor surveillance camera connections.
- Industrial Machinery: When it comes to harsh manufacturing environments exposed to coolants, oils, and high-pressure washing, it can protect electrical connections
-
Solar Energy Systems: In solar installations, it can secure critical DC and AC wiring, as well as in UV radiation or extreme temperatures.
- Transportation Electronics: In vehicle and railway control systems, it can withstand continuous vibrations and temperature variation.
Usage Guide
1.Preparation
Mini Waterproof Gel-box can be wiring with our CMK Series Connectors:
- Prepare the Wire:Remove the insulation layer of the wire to the length required by the CMK connector. It is recommended to attach an insulating sleeve at the end before connecting to ensure a stable and reliable connection and to prevent the wire from being damaged.
- Complete the Electrical Connection:Insert the prepared wire completely into the CMK quick connector terminal until a “click” sound is heard, indicating a proper connection. Gently pull on the wire to ensure it is securely fixed and will not come loose.
2.Assembling the Gel-box
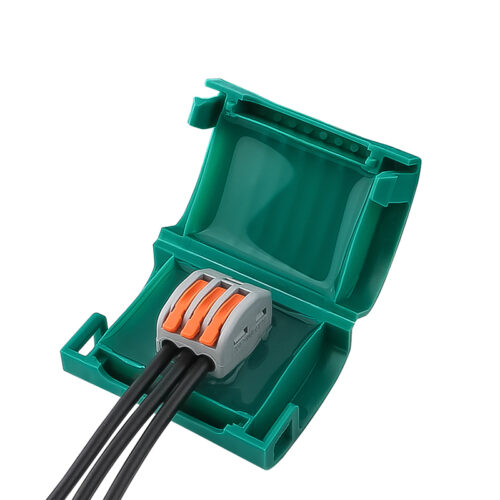
- Open the Gel-box:Locate the locking mechanism on the side of the gel container. Press firmly inward on the designated area to release the latch, and then open the lid.
- Place the Connector: Place the pre-assembled CMK connector component into the bottom of the gel box, making sure it is neatly positioned within the groove.
- Close and Seal: Align the lid with the base, then press firmly until you hear or feel a distinct “click”. This indicates that the lid is fully locked and the sealing process is complete.
3.Important Note
- Gel Displacement: After closing the lid, you will notice some gel overflowing from the sealing edge. This is a normal phenomenon. It indicates that the gel has fully filled all the internal voids and has exerted sufficient pressure, thus forming a complete waterproof barrier.
4.Final Check
Before deployment, visually inspect the assembly to ensure the Gel-box is securely locked with no gaps, and that the CMK connector is properly seated inside. This ensures the IP68 waterproof rating is fully achieved.


