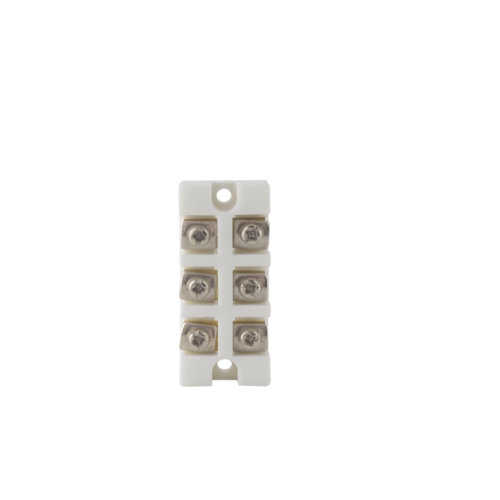
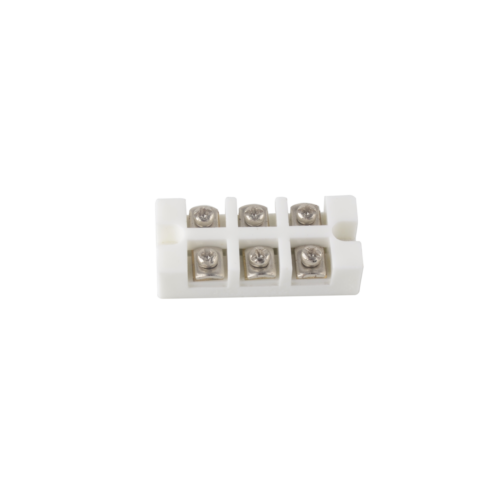
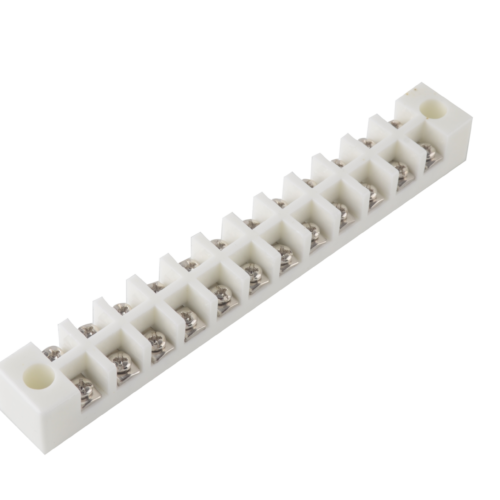
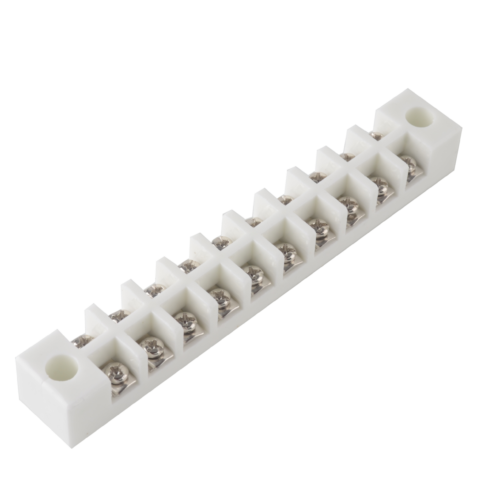
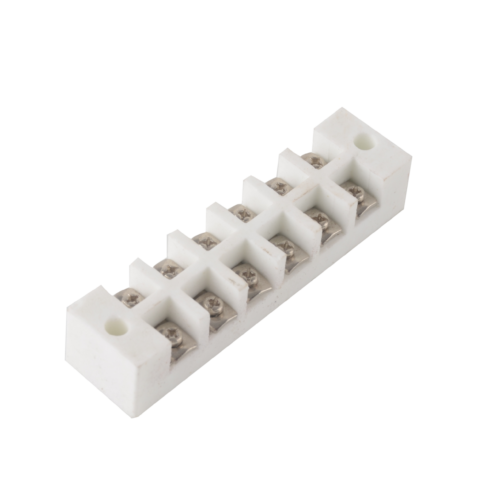
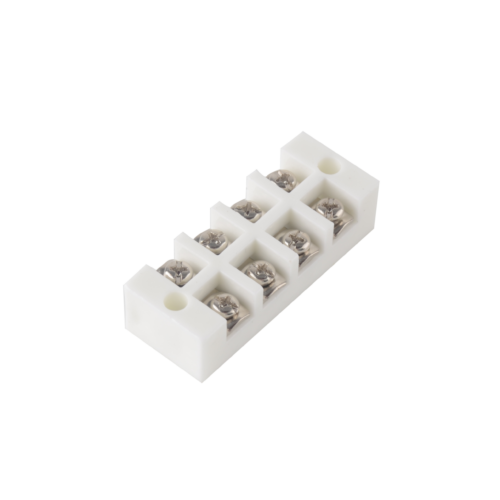
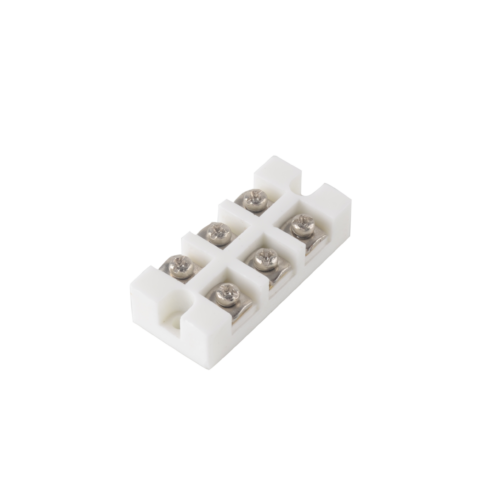
At its core, the function is simple: to create a secure, reliable, and insulated electrical connection between two or more wires. The “how” is in the clever design that achieves this simple goal under extreme conditions.
Here’s how it works, focusing on its key components and the process of making a connection.
Where is the Ceramics Terminal Block used?
-
Connecting Heating Elements: Inside ovens, industrial furnaces, kilns, and soldering irons.
-
High-Power Lighting: Wiring high-wattage halogen or LED lights that generate significant heat.
-
Power Supplies & Inverters: Especially in solar power systems or motor drives where high current and heat are present.
-
Industrial Control Cabinets: Located near heat sources like large resistors, transformers, or power semiconductors.
-
Harsh Environments: Where chemicals, oils, or solvents are present that would degrade plastic.
Usage Guide
-
Mounting the Block
Ceramic terminal blocks can be mounted in several ways:
-
DIN Rail: Many have a snap-on clip on the bottom designed to snap onto a standard DIN rail (35mm or 15mm are common).
-
Direct Panel Mount: They often have a central mounting hole. Use a screw, washer, and nut to securely fasten the block to your chassis or panel. Ensure the surface is flat and clean.
-
PCB Mount: Some versions have pins designed to be soldered directly onto a printed circuit board.
-
-
Preparing the Wire
- Strip the Insulation: Strip the end of the wire to expose the bare conductor. The correct wire stripping length is typically sufficient to be fully placed under the terminal block without any exposed wire ends protruding.
- Twist Stranded Wires: If using single-strand wire, gently twist the strands together to prevent them from unfurling during insertion.
- Crimp a Ferrule: When using multi-strand wire, it is strongly recommended to crimp an insulating sleeve onto the end for a more reliable and secure connection.This prevents the screw from crushing and potentially breaking individual strands over time.
-
Perform wiring
- Loosen the Screw: Insert your screwdriver and turn the screw counterclockwise several turns until there is ample space to insert the prepared wire under the clamp plate.
- Insert the Wire: Insert the stripped end of the wire fully into the opening beneath the clamp plate. It should be touching the back of the terminal.
- Tighten the Screw: While holding the wire in place, tighten the screw clockwise. Apply firm torque until the screw is very snug.
Caution: Do not overtighten, as this may cause the ceramic body to crack or severely damage the wire. Our goal is to achieve a secure, airtight connection, not to apply maximum force. After completing the wiring, gently pull the wire to ensure it is firmly secured and cannot be pulled out.
-
Final Check
Before energizing, inspect all connections to ensure no loose wire ends protrude into adjacent terminals, which could cause a short circuit, and that all screws are securely tightened. Finally, verify that the ceramic body is clean, free of cracks, and firmly installed.
