
You want every connection to be fast, secure, and easy to inspect, yet a cramped box, mixed wire types, or an incorrect strip length can turn a simple job into repeat work. A correctly selected quick wire connector solves that problem by giving you a consistent spring-clamped connection without time-consuming screw tightening or twisting.
Quick answer: A quick wire connector is a compact electrical connector that uses spring pressure, a push-in mechanism, or an operating lever to hold one or more conductors. You should choose it by conductor type and size, rated voltage and current, number of ports, operating temperature, installation space, and environmental protection—not by appearance alone.
Why does a fast connection sometimes become an expensive failure?
Speed is valuable only when the connection remains stable. If you choose a connector that does not match your conductor, strip too much or too little insulation, or push damaged copper into the clamp, you may create higher contact resistance. That resistance can produce heat, intermittent operation, nuisance shutdowns, and difficult troubleshooting later.
The solution begins before you open the lever. You need to treat the connector, conductor, and application as one electrical system. When their specifications match, the spring clamp maintains pressure on the copper and helps you produce repeatable results. When they do not match, even a neat-looking installation can hide a weak termination.
For this reason, you should verify the product datasheet and the requirements of your local electrical code before installation. A connector’s markings and documentation should confirm the conductor range, conductor material and type, voltage, current, temperature range, strip length, and applicable approvals for your market.
Which quick wire connector matches your conductor?
Start with the copper you actually need to terminate. Solid conductors are stiff and usually enter a push-in port easily. Stranded conductors are more flexible, so you may prefer a lever-operated connector that opens the clamp before insertion. If you need to join solid and stranded copper in the same connector, confirm that the exact model is rated for both. You should never assume that two connectors with similar housings accept the same conductor types.
Next, match the conductor cross-section. JINH quick wire connector models cover different connection ranges, with examples across the range including 0.2–4 mm², 0.5–2.5 mm², and 0.5–6 mm². These values describe different models rather than one universal specification. You should select the exact model whose datasheet covers every conductor in your connection.
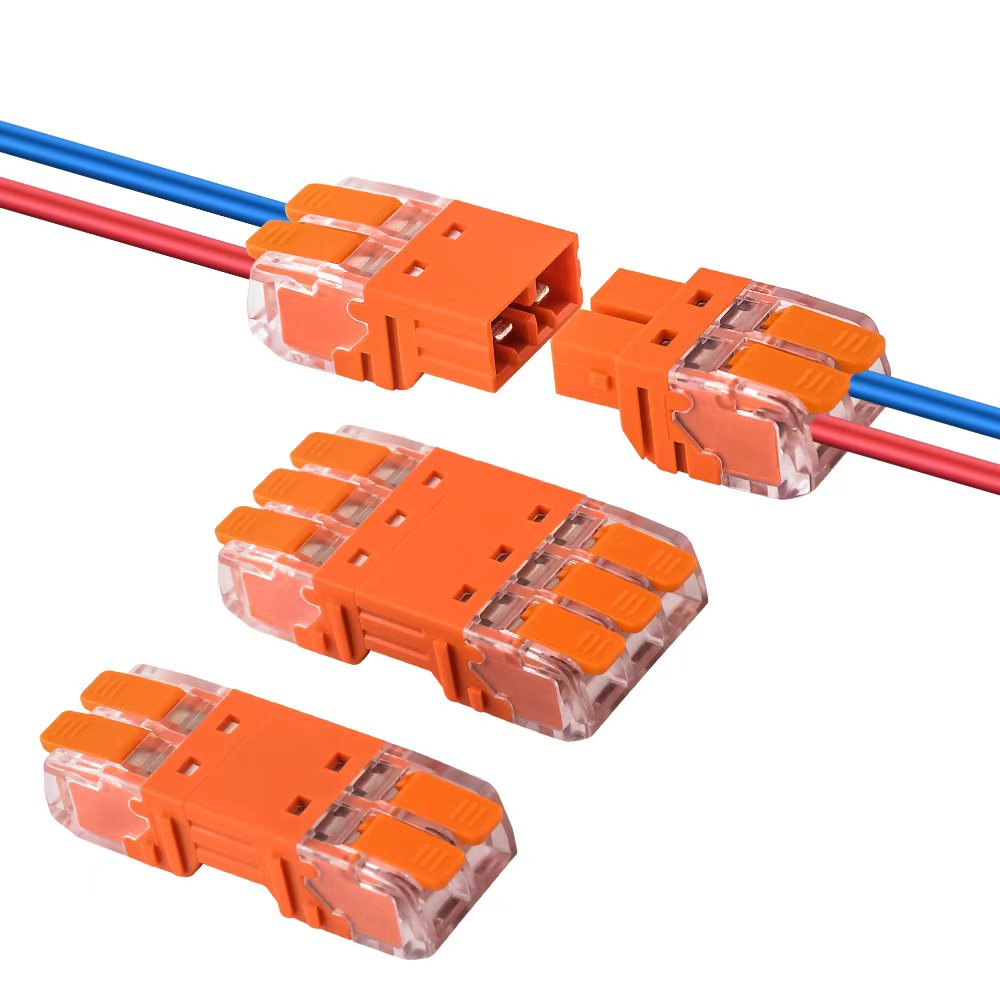
You also need the correct number of ports. A compact two-port connector may be ideal for an inline repair, while a multi-port connector can distribute one circuit to several loads. Do not place more conductors into a port than the manufacturer permits. If your circuit must be disconnected frequently during assembly or service, a pluggable wire connector may be more suitable than a permanent splice.
How do you prevent heat at the connection point?
Heat prevention starts with electrical ratings. You should check both rated voltage and rated current, then confirm that the connector remains suitable for the wire size, load, enclosure, ambient temperature, and applicable derating conditions. Choosing a larger-looking connector is not a substitute for checking its rating.
Contact quality matters just as much. Clean copper must reach the designed clamping zone, and the conductor must remain fully seated. If bare copper is visible outside the housing, the strip is probably too long. If insulation enters the clamp, the strip is too short. JINH quick wire connector products commonly specify a strip length around 10 or 11 mm, depending on the model, so you should use the value printed on the product or stated in its datasheet.
After insertion, close the lever completely when you are using a lever type. Then perform a gentle pull test on every conductor. You are checking that the clamp holds the copper, not trying to damage the connection. A transparent housing can help you visually confirm insertion depth, but the pull test gives you an additional practical check before the circuit is energized.
How should you install a quick wire connector correctly?
First, isolate the circuit and verify that it is de-energized with an appropriate tester. Cut away oxidized, nicked, or deformed copper, then strip the conductor to the length specified for your connector. Keep stranded wire strands together and do not tin them unless the connector manufacturer expressly allows tinned conductors.
If you are using a lever connector, lift the lever fully, insert the conductor until it reaches the stop, and close the lever completely. If you are using a push-in connector, insert the permitted solid conductor straight into the port until it is fully seated. Give the wire a gentle pull, inspect the housing for exposed copper, and arrange the connection so that bending or pulling forces are not transferred to the terminal.
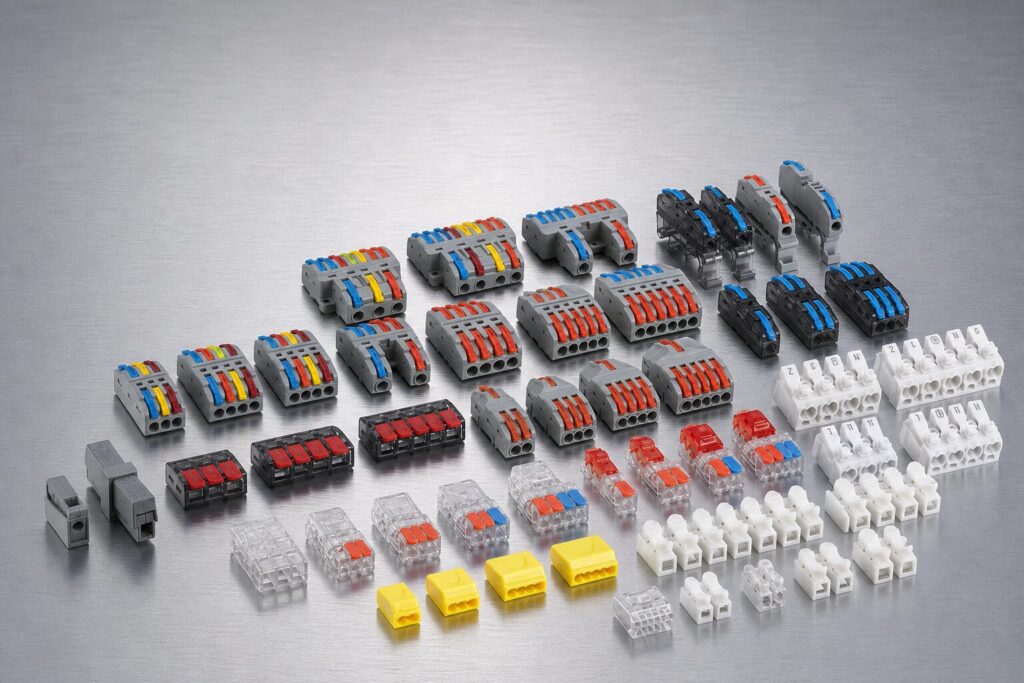
You should also leave enough service length to inspect or replace the connector later. A quick installation that leaves the wires under constant tension is not a reliable installation. Inside a crowded junction box or control panel, the compact format of a JINH quick wire connector can help you route conductors more clearly and use the available space efficiently.
Can you use the same connector indoors, outdoors, and in a control panel?
No. A standard quick wire connector may be suitable inside a dry, approved enclosure, but the connector alone does not automatically make a splice waterproof. If your installation is exposed to moisture, dust, condensation, or outdoor conditions, you need an enclosure or a waterproof connector with the required ingress-protection rating for that environment.
Temperature also changes your choice. Some JINH quick wire connector models are specified for operating ranges extending from –40°C to 105°C, while other models have different limits. You should compare the worst expected ambient and enclosure temperatures with the exact product datasheet. In lighting equipment, industrial control cabinets, appliances, and compact junction boxes, heat from nearby components can make the local temperature higher than the room temperature.
Mechanical conditions deserve the same attention. If vibration, repeated movement, or cable pull is present, you need suitable strain relief and an installation method designed for that duty. The connector should make the electrical contact; the enclosure and cable management should protect that contact from mechanical stress.

When is a lever connector better than a push-in connector?
A lever connector is often the practical choice when you work with stranded wire, combine different permitted conductor types, or expect to disconnect the circuit during testing and maintenance. Opening the lever releases the clamp, so you can make a change without cutting the wire shorter each time. That can save you time in prototype panels, lighting installations, equipment assembly, and service work.
A push-in connector is especially efficient when you install a high volume of compatible solid conductors and do not expect frequent changes. You strip the wire, push it to the stop, and verify the connection. The best design is therefore not the connector that is fastest in your hand; it is the one that remains fast across installation, inspection, testing, and future maintenance.
If you are comparing both formats, read Lever Wire Connector vs Push-in Connector and then confirm the specifications of the individual model you plan to order.
How can a quick wire connector lower your total installation cost?
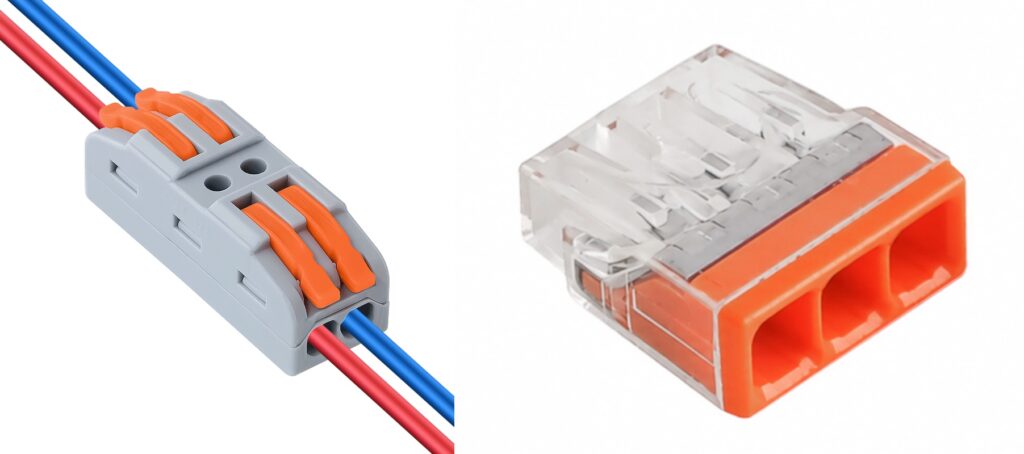
The connector price is only one part of your cost. You also pay for stripping, terminating, inspection, enclosure space, troubleshooting, and rework. A correctly specified connector gives you a repeatable process that is easier to teach and inspect. You can see whether the lever is closed, check the conductor through a transparent housing, and identify each circuit in a tidy box.
You gain the most when you standardize the process. Set the correct stripping tool length, approve connector models for defined wire ranges, and give installers a sample of an acceptable termination. When your team uses the same method, you reduce variation without relying on individual twisting force or screw torque judgment for every splice.
For OEM production, you should also consider packaging, labeling, batch consistency, documentation, and supplier support. JINH has manufactured electrical connectors and related accessories since 1997 and supports customized products, molds, labels, and packaging. If you share your wire specification, circuit requirements, expected environment, target certification, and annual quantity, the JINH team can help you narrow the selection before you request samples.
What should you verify before placing an order?
Before you approve a quick wire connector, compare the exact model with your conductor material, solid or stranded construction, cross-section, voltage, current, temperature, number of circuits, enclosure, and market requirements. Then test representative samples using your real wires, stripping process, assembly tools, and worst-case load conditions.
This validation gives you a direct answer to the question that matters: will the connection remain safe, stable, and serviceable in your product or project? To discuss a model or request samples, contact a JINH connector specialist with your application details.
Quick Wire Connector FAQ
What is a quick wire connector?
A quick wire connector is a device that joins electrical conductors with a spring clamp, push-in contact, or operating lever. It helps you create a fast, consistent connection without twisting wires together or tightening a conventional screw terminal. You must still match the connector to the conductor and circuit ratings.
Can you use a quick wire connector with stranded wire?
Yes, if the exact connector model is rated for stranded wire. Lever-operated models are often convenient because you open the clamp before inserting the strands. Check the datasheet for permitted conductor type and size, and make sure no strand remains outside the port.
How much insulation should you strip?
Use the strip length marked on the connector or stated in its datasheet. Many JINH models specify approximately 10 or 11 mm, but the correct value is model-specific. After insertion, you should see no bare copper outside the housing and no insulation inside the clamping zone.
Can you reuse a quick wire connector?
Some lever-operated quick wire connectors are designed to be reopened and reconnected, provided they remain undamaged and the manufacturer permits reuse. Inspect the housing, lever, spring action, and conductor before reassembly. Replace any connector that is cracked, overheated, contaminated, or no longer clamps securely.
Is a quick wire connector waterproof?
Not automatically. A standard connector generally needs a suitable enclosure in damp or outdoor locations. For exposed installations, choose a waterproof connector or enclosure with an ingress-protection rating appropriate to your environment, and follow the manufacturer’s sealing and cable-entry instructions.


